Regency (Bridgerton) Inspired Bag

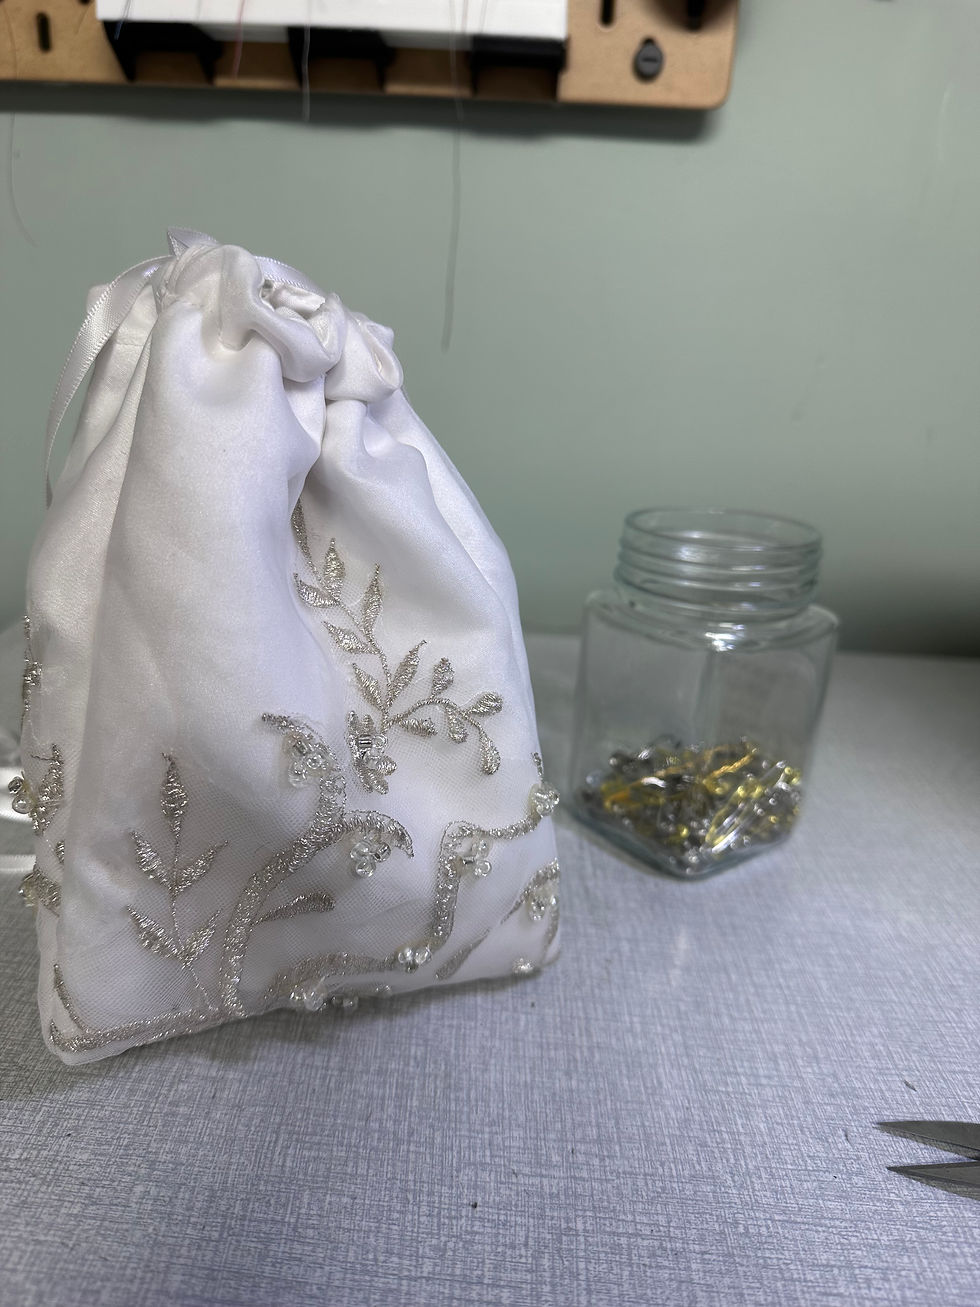
Those small drawstring bags that are shown on Bridgerton are called A Reticule.
They were are great way for a Regency Lady to carry a few items and show off her skills in sewing and embroidery
If you google, Pinterest, etc them, there will many sizes, shapes and degrees of embellishments.
I had already made a communion dress from her mother's wedding dress, (Check out the blog here). So the matching bag needed to be small, and easy for a girl to carry . I may of just binge watched the latest Bridgerton Season, and was looking up how to make Regency dresses. So with all that in mind a Reticule - Regency Inspired bag, seem to be prefect bag.
Pattern Making

When searching up ideas and patterns, I found a simple pattern here.
I use the measurements provided on the pattern to draft my own pattern, and then added 1/2 inch seam allowance to the sides of the pattern. When using historical patterns, you often have to added seam allowance to the patterns, as they frequently are made without one.
If you notice I didn't add the seam allowance to the top, if I was going to make this again, I would add a 1/4 inch to the top on the main fabric, and not on the lining fabric. That would help pull the lining more into the bag, for a crisper edge. I would also add a strip of interfacing at the top edge, for that reasoning as well.
However this was my first time making this style of bag and lessons are learned as we gain experience.
Making the bag
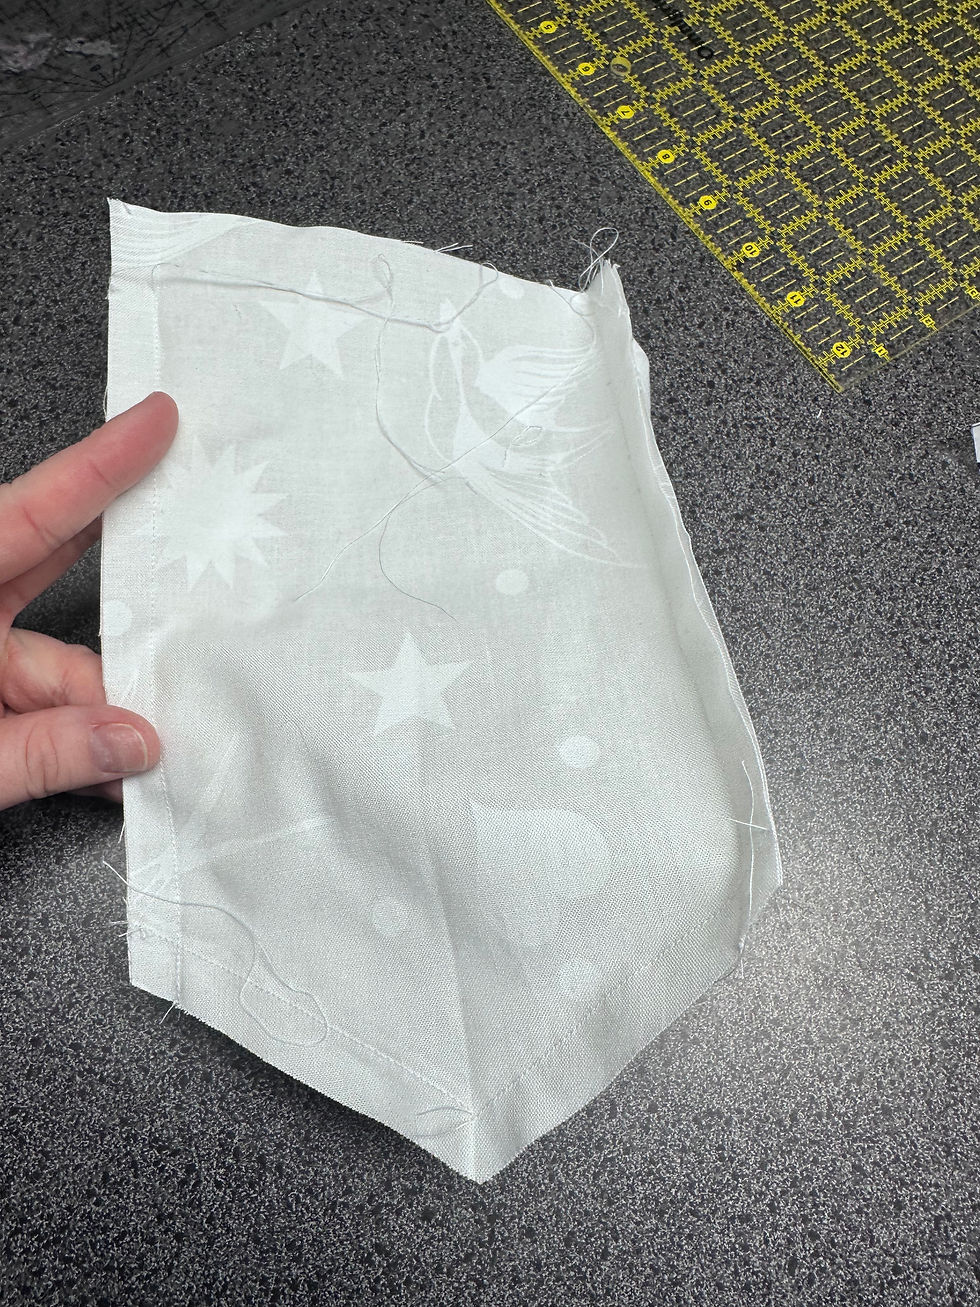
With pattern in hand, it was time to do a small test of the pattern. By cutting out the 3 pieces for the lining. As the main fabric is made from a wedding dress, I only have so much fabric to use. However with the lining, I can always pick a different fabric if I run out. With the lining pieces cut, I headed over to the sewing machine to sew the lining.
For 2 of the sides, I started my seam, 1 inch from the top, and sewed all the way down. For the remaining side, I simply sewed the seam from top to bottom.
Next up is the angle sewing, which can be a bit tricking to get right, for a prefect point.
I sewed the first 2 seams, from the top edge, at the 1/2 inch seam allowance, and crossed over the stitching from the last seam I did. I then stopped the seam a 1/2 inch from the bottom.
For the last angle seam, I started at the bottom, and carefully dropped my needle at the 1/2 inch away form bottom edge, but ensured that the needle also just passed into the other fabrics. Then sewed up to the other edge at the 1/2 inch seam allowance, ensuring not to sew thru the other fabric.
Getting the critical tiny amount of fabric at the start of the seam, really makes the difference in a crisp point, or a not so crisp point. You also don't want to not miss getting the all the fabric, cause you will have a hole in the bottom of the bag.
With a quick press a the iron, I checked the lining part the bag and decided I like the shape and size of the bag. If you are making your own bag, you can decide if want to redraft or alter your pattern to make is bigger, smaller, or adjust as needed.
Since I was happy with my pattern, I went ahead cut out the satin and the lace overlay needed for the outside of the bag. After removing any beads, sequins for the lace overlay, I stitch lace on top of the stain, along the very de of the fabrics, Creating one piece of fabric.
Repeating the steps on sewing the 3 pieces together, as I did with lining. I had to 2 full bags that I now have to make into one bag.

Starting with the 1 inch of un-sewn seam at the very top of 2 of the sides. I cut the seam allowance in towards the 1/2 inch seam to create a small split between the sewn seam allowance and the unsewn seam allowance. For the un-sewn seam allowance, folding inwards twice, to give a small 1/4 inch strip of fabric, and clip to hold. At the sewing machine, I am going to stitch that strip on on side of the seam, pivot and sew on the sewn opened seam allowance. Pivoting again to go back up the other side to sew that 1/4 inch strip of fabric. Repeating that again for the other 1 inch opening, and repeating all that again for the other bag piece. This will give you 4 open ended rectangles, so your ribbon can pass thru, without fraying your fabric.
However I need an access hole, for turning my bags out. So I picked out one side of my lining side seams, about 2 inches. Then turning main bag inside out, to the seams were on the outside. I put the lining bag into the bag, right sides together. Stitch 1/4" seam allowance around top edge. Trimming the extra threads at each and everything opening. Finally turning the back right side out, using that access hole in the lining. Before we close that access hole, I decided to edge stitch the top of the bag. Pushing all the 1/4 seam allowance towards the lining, and using the very edge of my presser foot, to stitch the top of the bag, on the lining side. This help the fabric ever so slightly roll more to the lining. So when you pressed the bag, the seam between the lining and main fabric, so at the top, but that tiny bit favouring the lining side more. So you don't see the lining when looking at the bag on the outside. So as you use the bag, you done need to re press the seam, to hide the lining.
After edging stitching, you can finally close the access hole. I choose to sew a tiny edge stitch again, along the 2 folded edges. However you can also hand stitch the seam closed, if you want a more invisible seam. I choose to edge stitch my access holes close, in case I ever need to go back into the project to fixed a seam, its much faster to reopen the same spot.

Last steps, is to add ribbon to bag, to create the drawstring and handles. When looking at the pattern, there is a line 1 inch down from the top, and we left 1 inch opening at 2 of the seams. After 1/4 inch seam allowance for sewing the tops together, we are left with a 3/4 inch. Using the 3/4 seam marking on my sewing machine, sewed along the top of the bag, thru all the layers. Creating a tube or channel for the ribbon. If your sewing machine doesn't have a 3/4 inch seam marking, either mark the lining of the bag or add a piece of tap to the sewing machine to create the guideline needed.
Using 2 pieces of ribbon, each 1 yard in length and a safety pin. Attach safety pin at the edge of the ribbon. You want the safety pic close the edge, but far enough back to wont break off.
Start at 1 open seam, at the top of the bag. Push the safety pin with ribbon thru the hole and go all the way around, back to the same opening you started at. After removing the safety pin, tie the 2 ends of the ribbon together. Next take the second piece of ribbon, and repeat that process from the other othering in the bag.
With the Reticule bag is complete. Of course, you can wish to add more decoration if you wish. However for this project, this was completed bag.


Comments