How to make pocket squares
- dognut160
- 4 days ago
- 2 min read

Pocket squares are great way to add a personal touch to a suit. They can be made from extra fabric, to match your date. Or in this case, I made 6 pocket squares from a friend's wedding dress, so all the boys can something special.
Pattern and Tools
Cut a square of fabric - This can be as small as 10 inch by 10 inch, or as big as 17 inch by 17 inch.
Sewing machine
Iron
Pins and clips as needed.
Heat erase pen or chalk - if needed
There are 2 ways to sew a pocket squares. Both will get the same result.
The method you pick will depend on your skill level and the type of fabric.
Method 1 : Iron, Sew, Iron

This method is great for beginners or those working with more slippery fabrics, think satin and silks
One the wrong side of your fabric square. Use your heat erase chalk to draw a line 1/4 inch from the edge of the fabric on each side.
Now fold the edge of the fabric to the line, and gently press.
Once all sides have been folded and ironed. Fold the fabric again, so the raw edge is encased in the folds
Use pins or clips as needed to hold everything in place.
Next you will sew the hem, along the edge of the fold, which should be 1/4 inch, or the edge of your 1/4 inch presser foot.
After sewing along the four sides. Head back over to iron and press everything again. If you have Spray Starch, you can use that to keep the crisp finish longer.
Method 2: Sew, Sew, Iron
This method is great for those who have some sewing experience and are working with easy to work fabric, like quilting cotton. Also if you have ever sewn a baby hem, this method is the same, but with a bigger turn over.
You can still mark the fabric a 1/4 " from the edge if you are comfortable eyeballing the measurement yet.
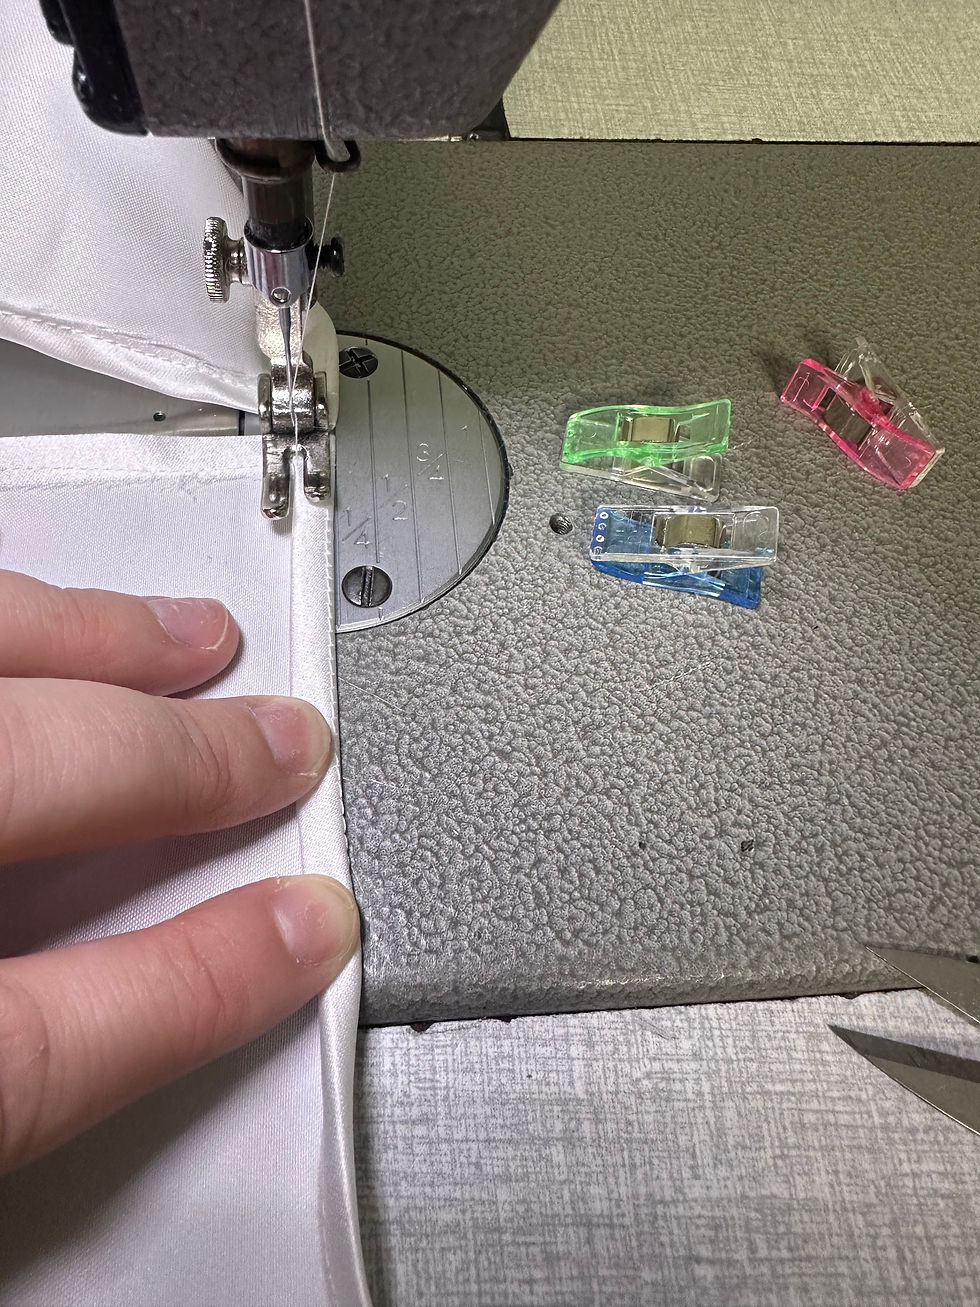
At the sewing machine, turn your fabric over 1/4 inch and sewn the fold down. Use your 1/4inch presser foot, so the fold is at the edge of the presser foot, and the edge of the fabric is just past the needle.
Do this for all four sides. I like to the 2 sides opposite of each and then other 2 sides, so over lapping on the corners is the same.
After all 4 sides, you will repeat the same process for the second fold. Ensuring the thread is one the backside of the square at the very edge.
Once all 4 sides are sewn again. Its time to head over to the iron. Pressing the square, and applying spray starch if desired.
Extra Details
For this project, I didn't add any extra details.
However if you wanted to add embroidery, or lace trim, you can. There is no wrong answers to your creation


Comments