Batman Mug Rugs


Its that time of year again. Almost my husband's birthday. This is the second year, in a row I am making him something Batman themed for the living room, just for his birthday month.
Last year, I made him a Batman Bunting Banner
Which he loved and definitely let every visitor to our home know he was a Batman lover.
Lately, I have been all about making these larger coasters called Mug Rugs. I love a Mug Rug over a coaster, as they are bigger. Which makes it a lot more likely your cup lands on the rug. Plus if you do spill, there is more fabric to help with clean up.
Pattern & Supplies

The great thing about making larger Coasters, or Mug Rugs, so the pattern can be more complex, if you want, or you can make 1 quilt block.
I like my Mug Rugs to be 6 inches squared. Which gives lots a freedom for design. These particular design, I decided to use both fabric and Iron- On Vinyl.
I started drafting the pattern with a simple 6 inch square. Drawing the lines and details I wanted included on top. I decided to have a Bat logo in the corner, with a city outline near one of the edges. Along with the solid yellow background I added some strips of black. For the side with the city, I wanted a small 1/2 inch strip of black, so the city would rise from that. The other black strip was set one inch from the edge, to break up the solid yellow background more. This also framed the bat logo nicely.
For Materials - with cut list, 1/4 inch seam allowances included
Fabric | Measurement | Amount |
Black Fabric | 1 Inch by 6.5 Inch | 1 |
1.5 Inch by 6 Inch | 1 | |
Yellow | 1.5 Inch by 6 Inch | 1 |
4 Inch by 6nch | 1 | |
Backing | 6.5 Inch by 6.5 Inch | 1 |
Batting | 6.5 Inch by 6.5 Inch | 1 |
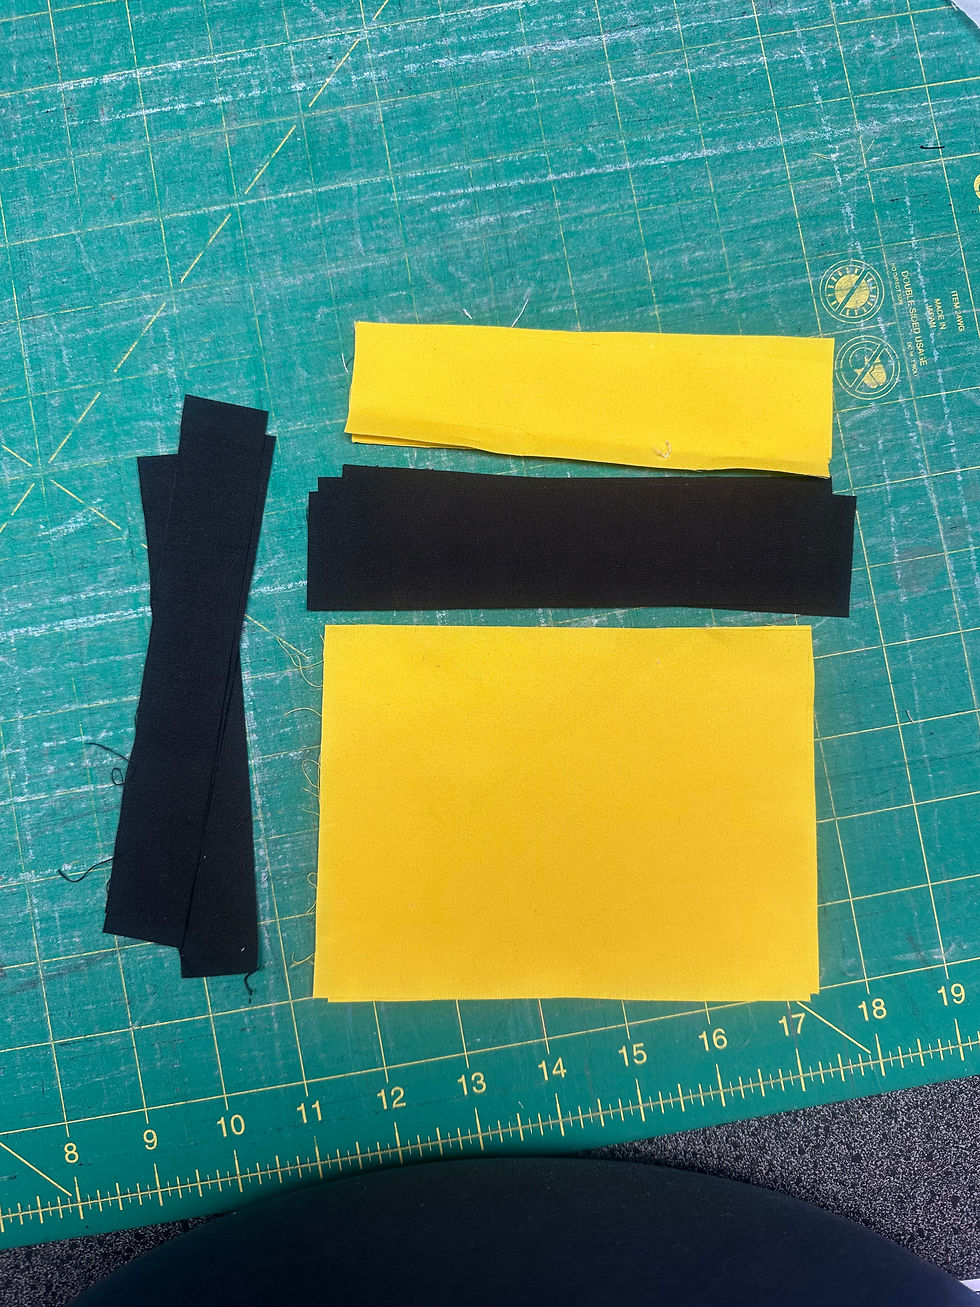
Assembly
Every time I make a block, I like to dry assemble the block. Basically put the strips of fabric where they go on the block, to see the block pre- arranged.
This will not fit perfectly, as the fabric pieces have seam allowance still. However with the dry fit, it helps guide the flow of block assembly.
Since this block is similar to a quilt block, you want to sew with straight lines, whenever possible.
Lucky this block is really easy to assemble. with the yellow strip, black strip and larger yellow block, all being the same width of 6Inches. Starting with the 1.5 inch strips of black and yellow, sewn together, with right sides together.
Pressing the seam, (excuse the Star Wars reference), towards the dark side.
Repeating that process again, but with larger yellow block again. Ensuring the one side is all lined up.
If needed, you can trim the sides, before moving on.
The final block assemble sewing is attaching the tiny strip of black along the whole side of the block.
After pressing, and any needed squaring up. The block should be 6.5 inches by 6.5 inches.

Building the Mug Rug Sandwich
With our block completed, its time to make a sandwich. Except we are not eating this sandwich.
Place your Mug Rug block and backing fabric together, with right side facing each. The add the batting layer on top of the backing layer.
Take sometime to line up all the edges, Use pins or clips if needed.
You are going to sew along each edge of the fabric at 1/4 seam allowance. It is best to do a back stitch at each edge, to help the corners. Except you need to leave a 2 inch hole along one side, to turn everything right side out. I choose to leave this hole along the black strip side, to better hid it
Once all the sides are sewn and the whole thing is pressed on the block side only. Clip the very edges of the corners, without clipping the seam. Clipping the seam, means there is a hole, and you need to either restart the whole project, or sew the affect sides slightly smaller.
After clipping, turn the whole sandwich right side out. Carefully poking out each corner, so you can get corner out, without poking a hole thru the seams. If you do poke a hole it the corner, you clipped to close the edge. Which means its re make the project or turn it back in, and sew it slightly smaller.
This is fussy part of the project, as knowing how close to clip, to get the corner you like is more experience, and trial & error.
If you are having issues, you can try a couple things. First check your stitch length. High stitch length means more space between each stitch. Lower stitch length more less space, and less holes.
If you are still having issues you can always clip away the just the diagonal or the corner. This is give you a more rounded corner, but there is less chance of breakage.

Quilting and Final Details
With the Mug Rugs turn right side out, and corners done. Its time to seal the rug.
Tuck the open edges, into the rug, so they lined up wit the rest of the edge, and look as if they were never opened. Use Clips or pins to hold in place.
You can choose to hand stitch this closed. However I like to edge stitch around the whole Mug Rug, which also close this opening.
Using the inside edge of the presser foot, edge stitch around the whole rug. In the corners, I like to do 1 diagonal stitch, instead of a 90 degree turn. This helps get the corner looking the tiny bit better. In my opinion.
I also decided to edge stitch long the black strips, as well. Just to add some more quilting in the mug rug. This is optional. You can also decide to add more quilting if your desire.

With the Mug Rug sewing complete, it's time to turn attention to the Iron On Vinyl parts.
Using my Cricut app, I found the logo I liked, as will as city skyline.
There was a Gotham city skyline, however the buildings had windows. Which be a lot more weeding, of every single tiny, tiny square. Since the skyline was only 6 inches long and under 2 inches, at the highest point. That was a headache I choose to skip.
After cutting the need pieces out using the Cricut, and doing some weeding of the excess vinyl. It was time to iron the pieces to Mug Rug.
I just followed the instructions on my Iron-On Vinyl, for this part. I found that to be the easiest to using Iron- On Vinyl.
After one final press, to make sure everything is set in place. Grab a beverage of your choosing, and enjoy you new Batman Mug Rug.
Of course be sure to save that Cricut file, in case you ever need to make more Mug Rugs. or touch up the current one you have after years of love and washing. As hopefully the Iron- On will be the only thing to fall apart and need a quick replacement.
As always, Happy Sewing!
If you enjoy my Blog, Please share this with a friend.
If you would like to support my creativity, and are able to. Please Consider a donation to the Caffeine Fund,

Comments